-
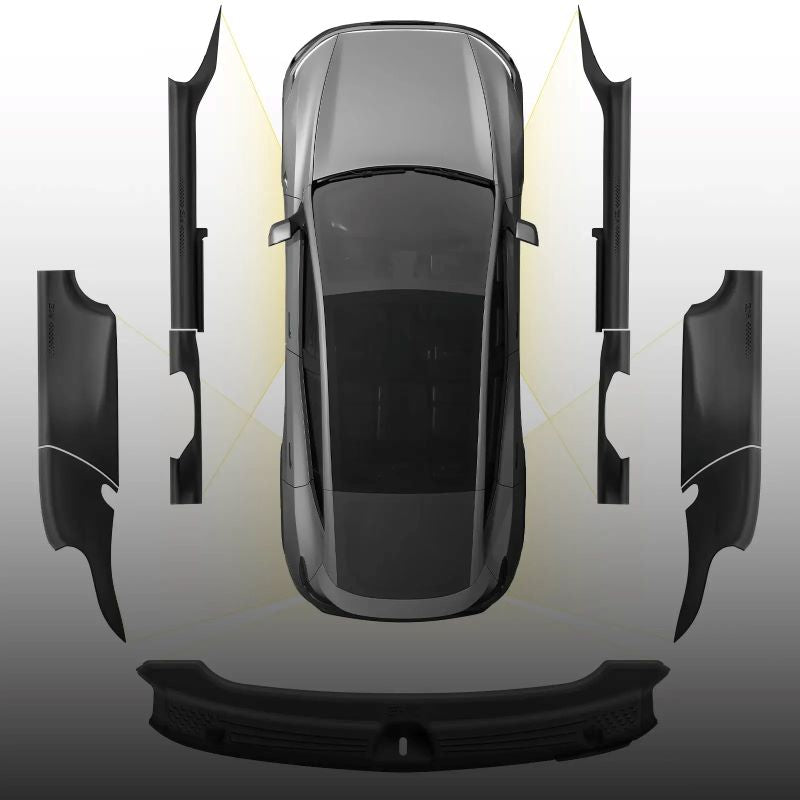
Exterior Protection
-
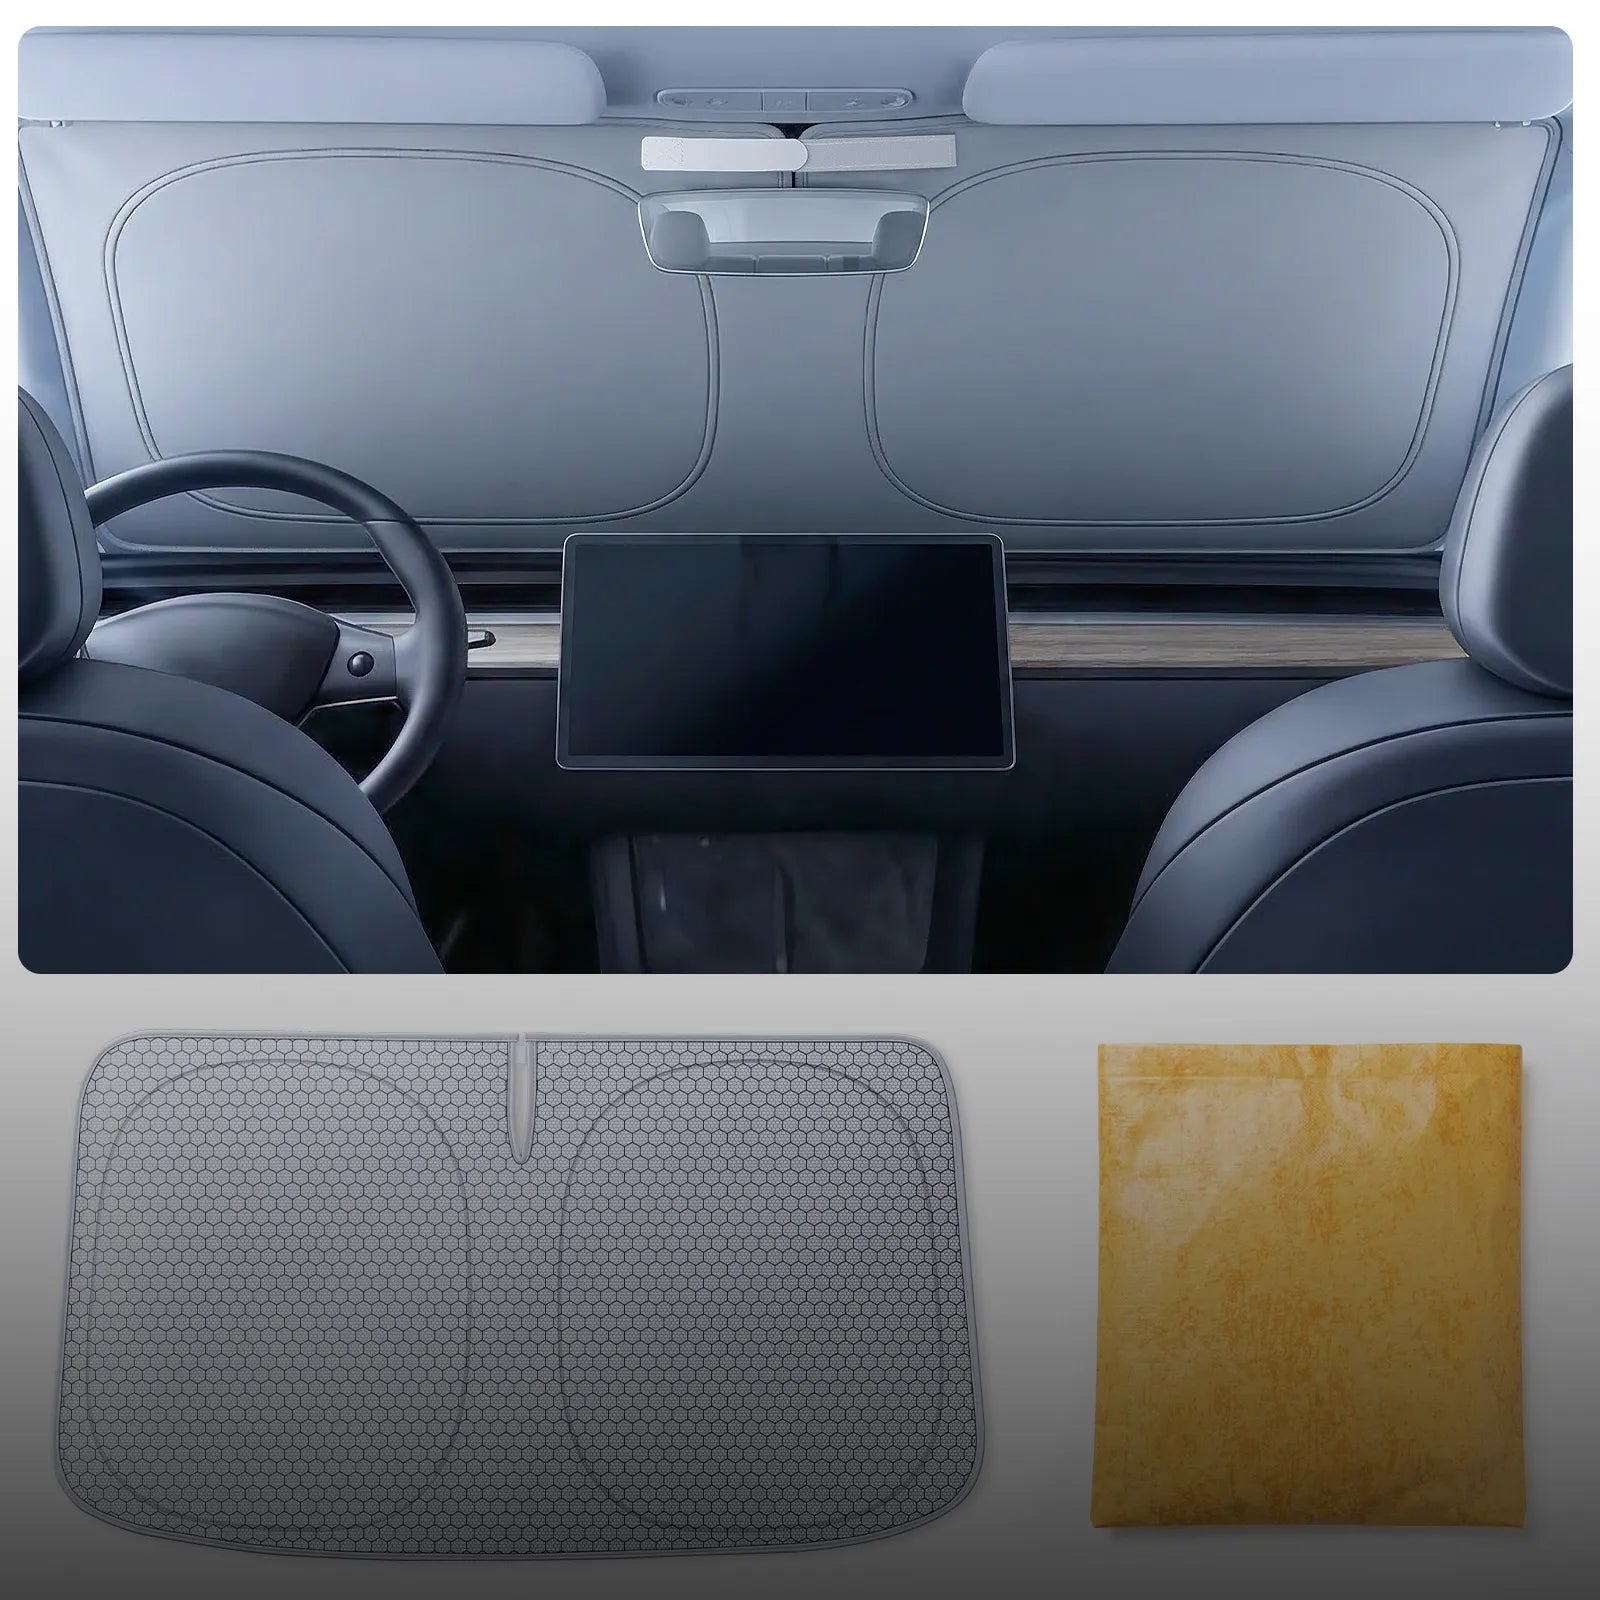
Car Care & Detailing


- ⮕ All Ford Floor Mats
- F150 with Underseat Storage 2015-2026
- F150 without Underseat Storage 2015-2026
- F250/F350/F450/F550 2017-2026
- Bronco 4-Door 2021-2026
- Bronco 2-Door 2021-2026
- Bronco Sport 2021-2026
- Edge 2015-2024
- Expedition 7-Seat 2025-2026
- Expedition Max 7-Seat 2025-2026
- Expedition Max 8-Seat 2025-2026
- Explorer 7-Seat 2020-2026
- Explorer 6-Seat 2020-2026
- Escape 2020-2026
- Maverick Hybrid 2022-2026
- Maverick Gasoline 2022-2026
- Mustang Mach-E 2021-2026
- Ranger 2024-2026
- Ranger 2020-2023
- ⮕ All Toyota Floor Mats
- 4Runner Gasoline 2025-2026
- 4Runner Hybrid 2025-2026
- 4Runner 2013-2024
- Sienna Platinum 2024-2026
- Tacoma Hybrid 2024-2026
- Tacoma Double Cab 2024-2026
- Tacoma Double Cab 2016-2023
- Tundra 2022-2026
- Tundra 2014-2021
- Land Cruiser 2024-2027
- Camry 2025-2026
- Camry 2018-2024
- Corolla Sedan 2020-2026
- Grand Highlander 2024-2026
- Highlander 2014-2019
- RAV4 2019-2025 Hybrid
- RAV4 2019-2025 Gasoline
- RAV4 2013-2018
- Sienna 8-Seat 2021-2026
- Sienna 7-Seat 2021-2026
- Sienna Trunk Mat 2021-2026
- All Chevrolet Floor Mats
- Blazer EV 2024-2026
- Colorado 2023-2026
- Colorado 2015-2022
- Equinox 2025-2026
- Equinox 2018-2024
- Equinox EV 2024-2026
- Silverado 2019-2026
- Silverado EV 2024-2026
- Suburban 7-Seat 2021-2026
- Trailblazer 2021-2026
- Tahoe 8-Seat 2021-2026
- Tahoe 7-Seat 2021-2026
- Traverse 2024-2026
- Traverse 2018-2023
- Trax 2024-2026
- Kona 2024-2026
- Ioniq 5 2022-2024
- Palisade 2026
- Palisade 8-Seat 2020-2025
- Palisade 7&8-Seat 2026 Hybrid
- Santa Fe 2021-2023
- Santa Fe 6-Seat 2024-2026
- Santa Fe 7-Seat 2024-2026
- Santa Fe Hybrid 2021-2023
- Santa Fe Hybrid 2024-2026
- Santa Cruz 2022-2026
- Sonata FWD 2020-2026
- Tucson 2022-2026
- Elantra 2021-2026
- Elantra N 2022-2026
- ⮕ All Jeep Floor Mats
- Compass 2017-2026
- Cherokee 2015-2023
- Gladiator 2020-2026
- Grand cherokee 2022-2026
- Grand cherokee 2016-2021
- Grand Cherokee 2013-2015
- Grand Cherokee L 7-Seat 2021-2026
- Grand Cherokee L 6-Seat 2021-2026
- Grand Cherokee WK 2022
- Grand Wagoneer 7-Seat 2022-2025
- Grand Wagoneer 8-Seat 2022-2026
- Grand Wagoneer L 7-Seat 2022-2025
- Renegade 2015-2024
- Wrangler JLU 2018-2026
- Wrangler JKU 2014-2018
- Wrangler 4XE 2021-2026
- Wagoneer 7-Seat 2022-2026
- Wagoneer S EV 2024-2026
