


Many drivers end up tossing a muddy backpack or a box of tools into the trunk. And they eventually cringe at what it may do to the car seats. That’s when you’ll realize the importance of learning how to install seat back protector covers. It's one simple upgrade you can make to your car's interior without any tools, drilling, or mechanical skill.
This insightful 3Wliner guide first walks you through exactly what a seat back protector does. Then, we’ll proceed to prep your car and install a seat back protector step by step. You’ll even know the frequent mistakes drivers make, how to double-check, and how to keep the protector looking good for years.
What Is a Seat Back Protector and Why Should You Install One?
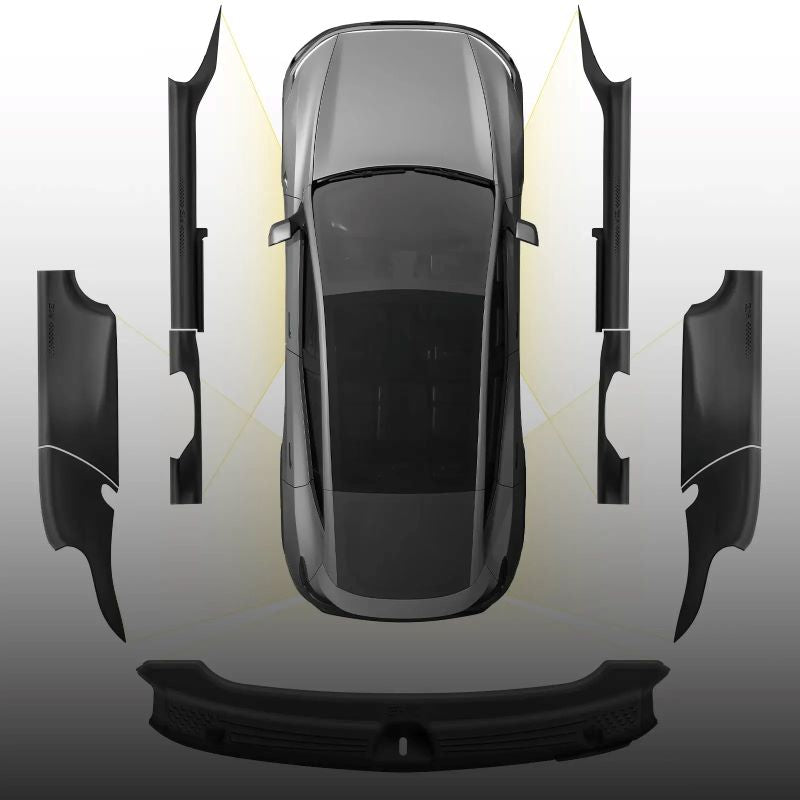
A seat back protector (or back seat mat ) is a fitted cover that attaches to the cargo-facing side of your rear seats. It stands between your seat upholstery and whatever you're hauling. Thus, scratches, dirt, and spills never come into contact with the actual seat.
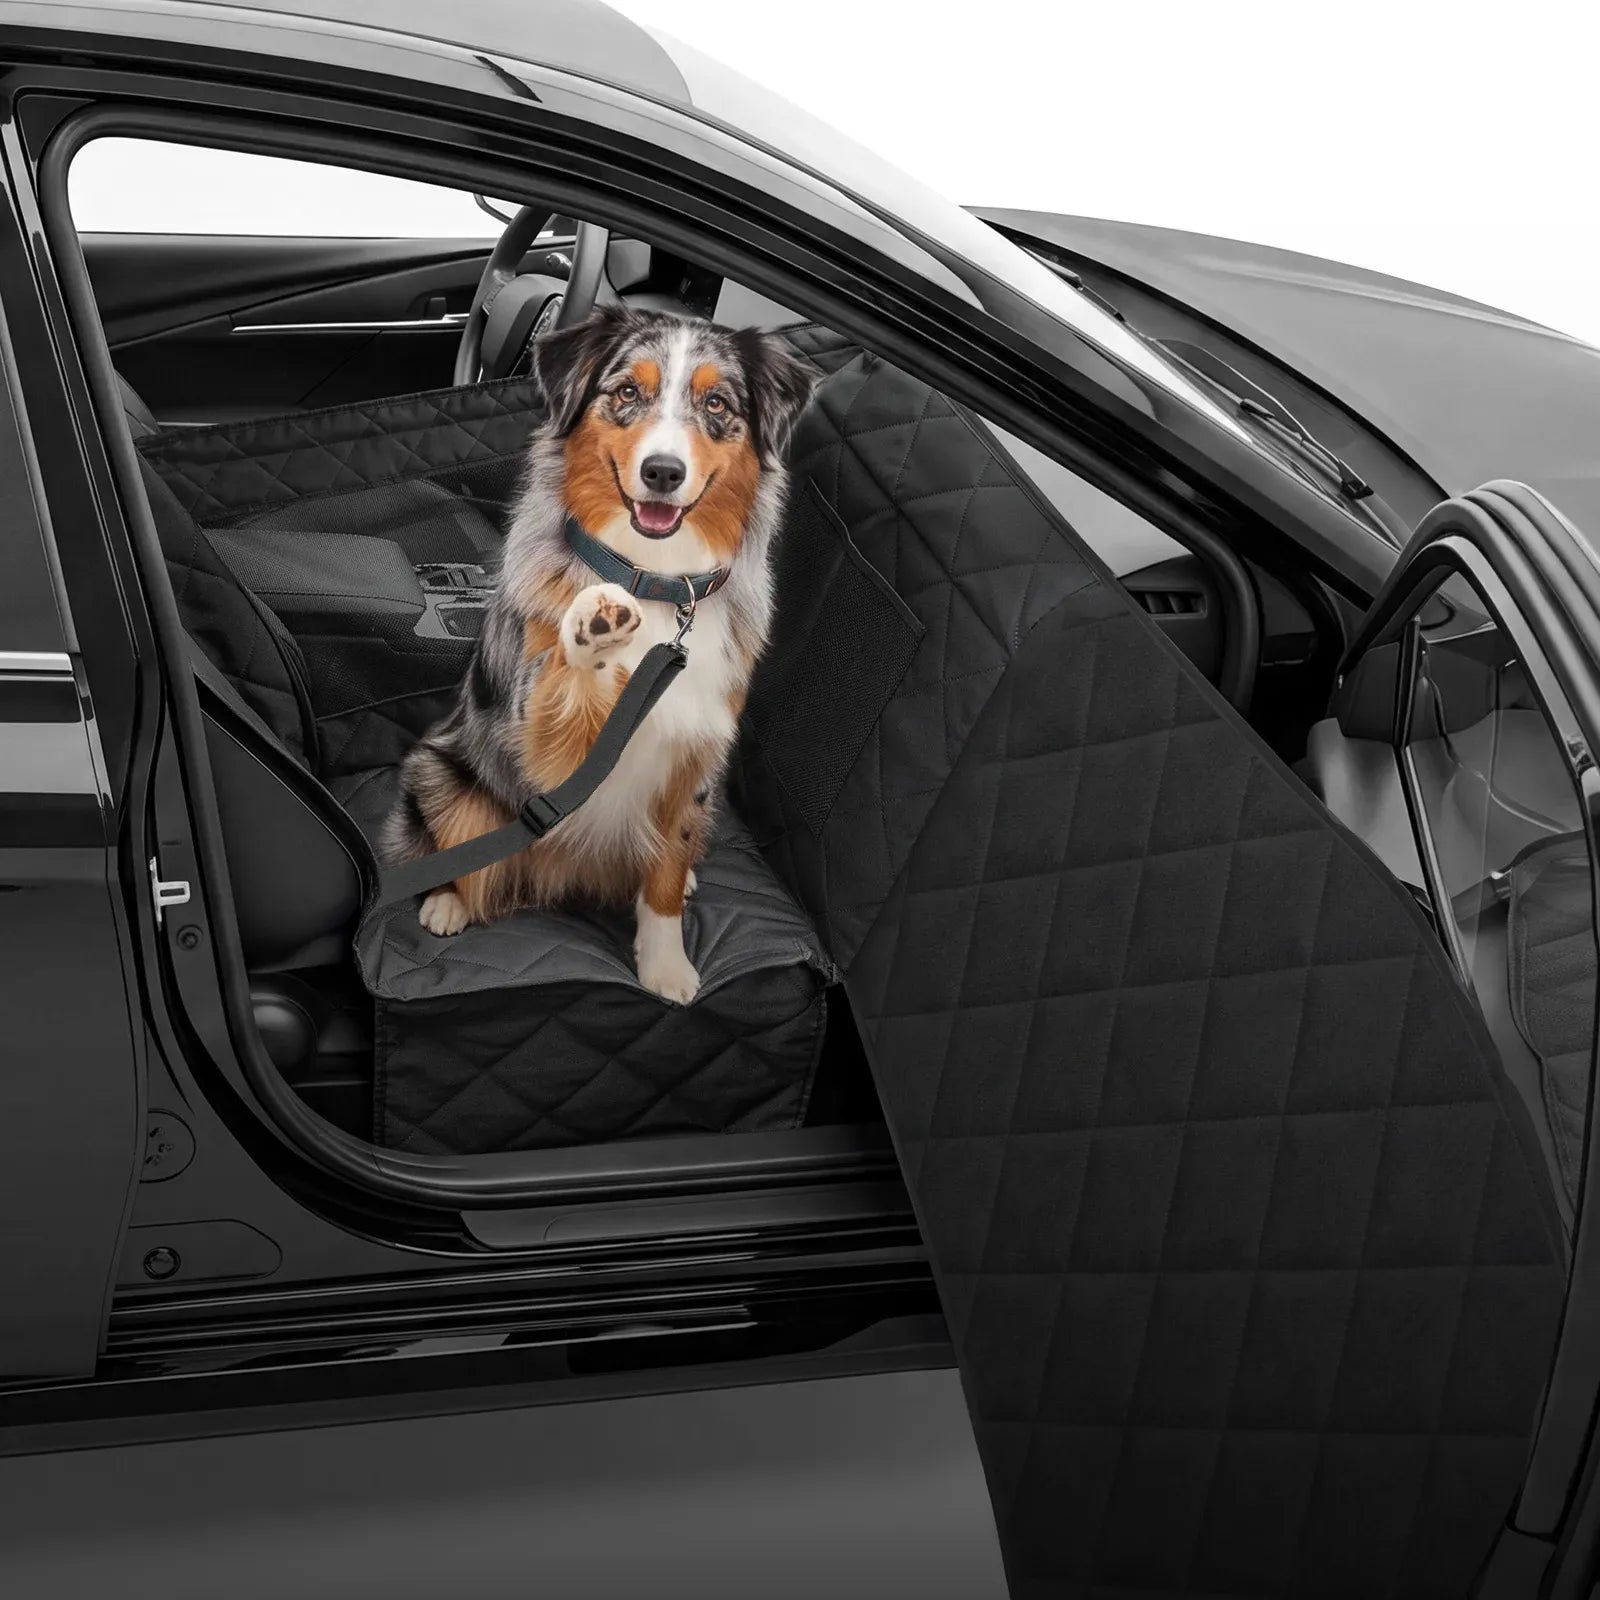
Think about everything that ends up sliding around behind your rear seats. It can be grocery bags with sharp corners, a dog with muddy paws, camping gear, tools, moving boxes, etc. No barrier means all of those go straight onto your seat's fabric or leather. Over months and years, that adds up to visible wear that's hard to reverse.
A quality rear seat back protector solves the issue in a few practical ways. It shields the seat back from scratches and scuffs caused by cargo shifting. It keeps pet hair, dirt, and mud from working into the seat's stitching and fibers.
It further protects against spills before they soak through to the padding underneath. And because it keeps the back of your seats looking close to factory-new, the protector also helps preserve your car's resale value down the road. Any worn, stained cargo-facing seat is exactly the kind of detail that shows up in a used-car inspection.
Prepare Before Installation
A few minutes of prep make the actual installation faster and give you a better fit. Skipping the step is the most common reason a protector ends up crooked or doesn't hold its Velcro bond well.
Clean the seat backs first. Wipe down the entire surface with a damp cloth and let it dry completely. It's because Velcro doesn't grip well over dust, pet hair, or residue.
Check your seat configuration. Note whether your rear seats are a single bench or a 60/40 or 40/20/40 split. It determines how many separate protector panels you'll be working with.
Fold or unfold the seats as needed. Set the seats in the position you'll use most often for cargo. It makes it easier to check that the protector clears the folding hinge.
Confirm your vehicle model — double-check the make, model, and year. A protector built for the wrong seat configuration won't align with the LATCH anchors or headrest posts.
Lay out all pieces before you start. Most kits include a left and right panel (and sometimes a center piece for a 40/20/40 split). Confirm you have every piece before you begin.
How to Install a Seat Back Protector Step by Step
Installing a seat back protector takes about ten to fifteen minutes. And the entire task consists of five steps – prep the area, align the panel, secure the Velcro, smooth out the fit, and test that the seats still fold normally.
Step #01: Prepare the Rear Seat Area
Clear out anything currently sitting in the cargo area to have full access to the seat backs. Give the surface one quick wipe in case any dust has settled after your initial cleaning. Don’t forget to set your protector panels nearby, sorted by left and right side.
Step #02: Align the Protector with the Seat Back
Hold the panel up against the seat back and match it to the seat's natural contours. The headrest posts, the seatbelt buckle cutout, and the top edge – all should line up before you press anything into place. Getting the alignment right before any attachment marks the difference between a protector that looks factory-installed and one that sits crooked.
Step #03: Secure the Velcro or Attachment System
Press each section of Velcro firmly against the seat back, working from the top down. It should keep the panel flat as you go. Apply steady pressure across the entire strip instead of tapping the corners. A half-attached strip is the most common reason a panel comes loose later.
Step #04: Smooth Wrinkles and Verify Full Coverage
Run your hand across the entire panel to smooth out any wrinkles or air pockets. Then, step back and check that the seat back is covered edge to edge with no exposed fabric or leather peeking through at the corners.
Step #05: Fold and Unfold the Seats to Confirm Proper Movement
Fold the seat down and back up through its full range of motion. Make sure that the protector doesn't bunch, catch, or pull loose at the hinge. It’s mandatory even if you rarely fold your seats. It’s because the step confirms whether the fit is correct before you load any cargo on top.
Every vehicle's seat shape is a little different. Therefore, model-specific instructions and installation videos are available in 3W's official Seatback Protector Installation Guide.
Common Installation Mistakes to Avoid
Most installation problems trace back to one of four avoidable mistakes. Catching these early saves you from having to redo the whole job later.
Poor Alignment: Starting the Velcro attachment before confirming that the panel lines up with the headrest posts and the seatbelt cutout leads to a crooked, uneven fit that's hard to correct afterward.
Loose Attachment: Pressing only the edges of the Velcro, rather than the full strip, creates weak points that tend to peel away under the weight of shifting cargo.
Incorrect Positioning: Mounting the panel too high or too low leaves a gap at the top or bottom — that's where dirt and scratches still reach the seat.
Blocking Seat Movement: Skipping the fold test can mean that cargo hooks, LATCH covers, or panel edges interfere with the seat hinge and can damage the protector or the seat mechanism over time.
You may notice any of these issues after installation. In that case, the fix is usually simple: peel back the affected section, re-clean the surface, and reattach it, following the alignment step again.
TPE-based Velcro systems are designed to be removed and repositioned without damaging the seat. Therefore, there's no harm in doing things over until everything becomes perfect.
How to Check If Your Seat Back Protector Is Installed Correctly
A correctly installed protector should look seamless, stay firmly in place, and never interfere with how your seats fold. Run through the following checklist once you've finished installing to confirm everything's set.
- Alignment: The top edge of the panel is level with the top of the seat back, and the headrest and seatbelt cutouts align cleanly.
- Stability: Press firmly on several spots across the panel; nothing should shift, peel, or feel loose to the touch.
- Seat-Folding Functionality: Fold and unfold the seat fully; the protector should move with the seat without bunching or catching.
- Coverage: No fabric or leather is visible at the edges, corners, or around the headrest posts.
- Access: Seatbelt buckles, LATCH anchors, and any seat controls remain fully usable with the protector in place.
Cleaning and Maintaining Your Seat Back Protector
A TPE seat back protector cleans up in a couple of minutes with just water and a cloth. The non-porous surface doesn't let mud, hair, or spills soak in the way fabric does.
A damp microfiber cloth is usually all you need for everyday dirt and dust. Wipe the surface down and let it air dry. Pet hair tends to sit on top of the smooth TPE surface rather than working into it. A quick pass with a rubber pet-hair brush or even a lint roller lifts it off easily.
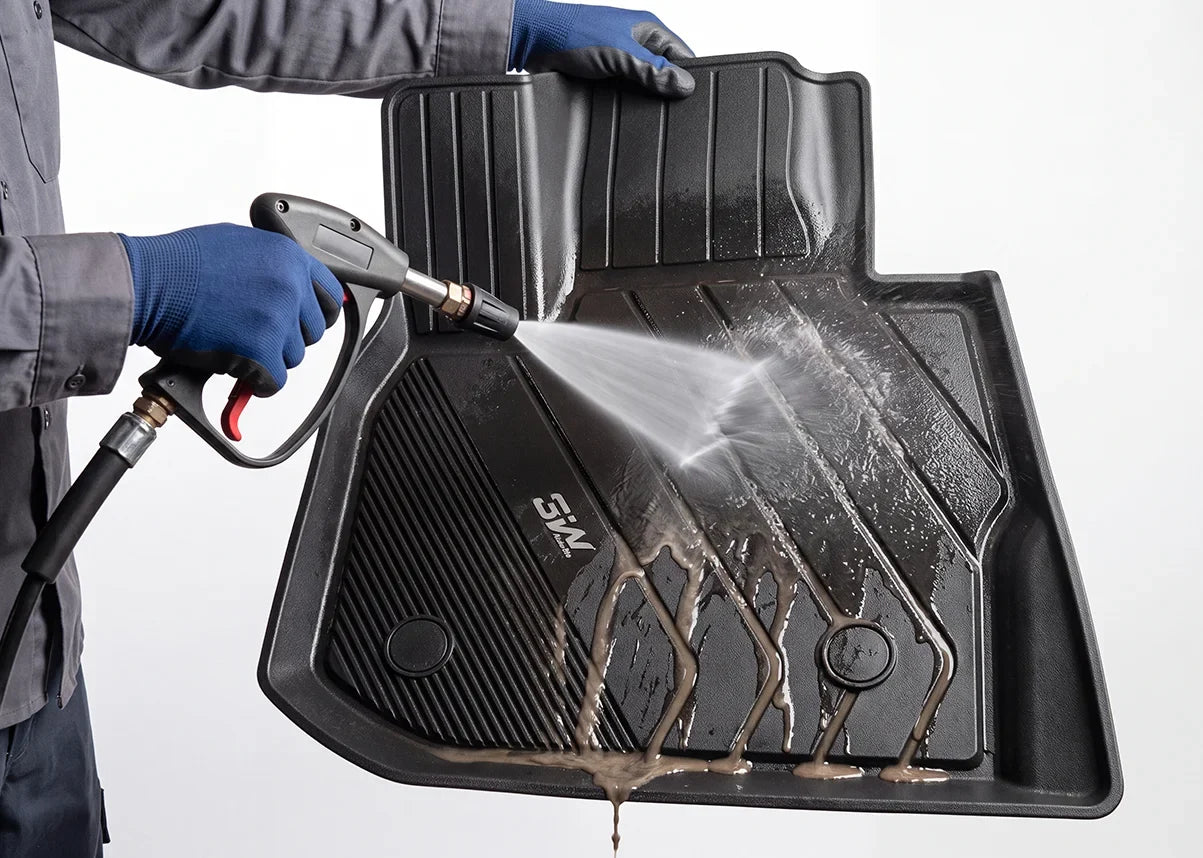
Rinse the panel with a hose or a wet cloth, then wipe dry with mild soap to remove mud or heavier grime. Since the material is waterproof, you don't have to worry about moisture soaking through to the seat underneath. Spills wipe up cleanly as long as you get to them before they dry.
Even dried spills come off with a damp cloth and a little extra scrubbing. Regular cleaning keeps the protector looking new while extending its service life by preventing built-up grit.
Conclusion
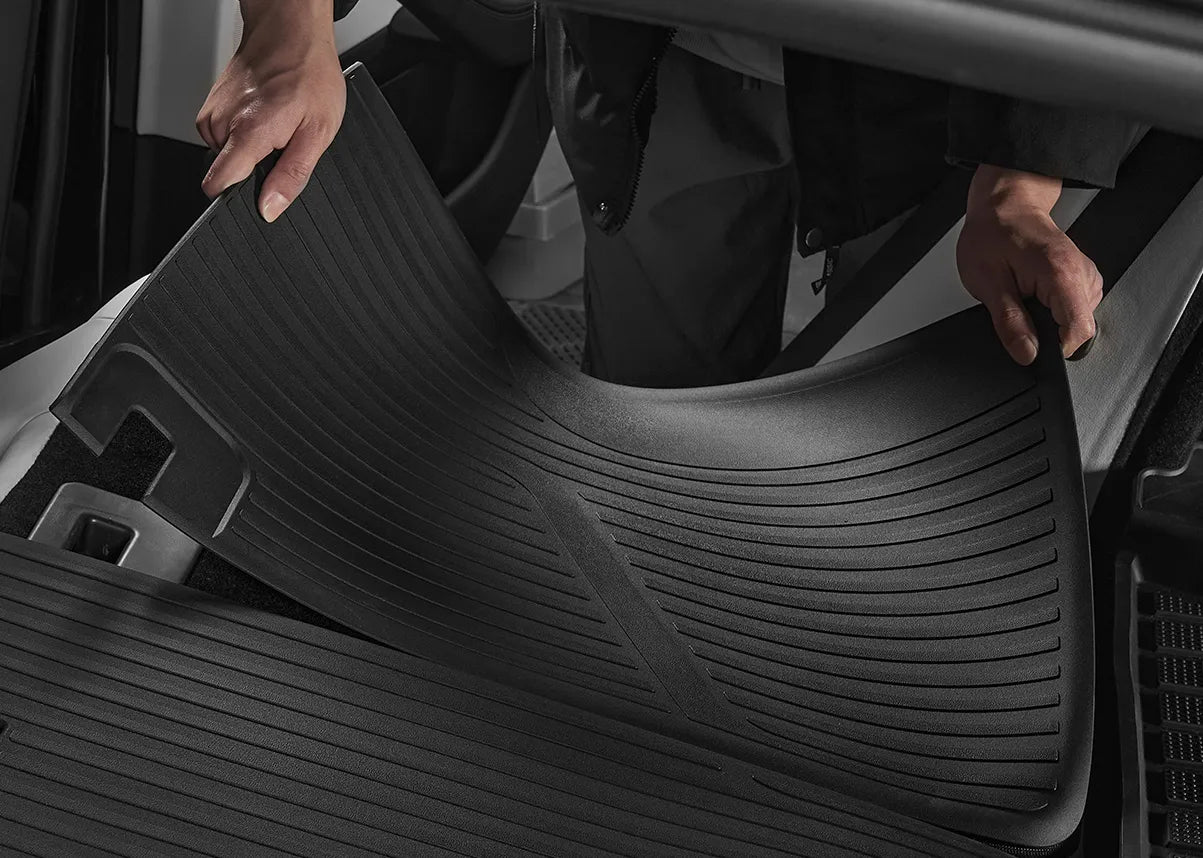
A seat back protector covers one wall of your cargo area. However, the floor underneath takes just as much abuse from the same gear, tools, and muddy paws. Pairing it with a matching cargo liner rounds out the protection; nothing in your trunk goes unguarded.
Think of your cargo area as a box with two vulnerable surfaces: the floor and the seat-back wall. A seat back protector guards the wall, while a properly fitted cargo liner protects the floor. Running one of the two eventually means the other surface ends up scratched or stained.
3W's Seat Back Protector collection offers custom-fit Thorex™ TPE protectors that match your vehicle's seat contours. They use the same tool-free Velcro installation. Paired with a 3W cargo liner, you get a full, easy-to-clean protection system.


Frequently Asked Questions (FAQs)
1. How long does it take to install a seat back protector?
Most Velcro-based protectors take about 10 to 15 minutes to install, including cleaning and alignment steps. Hardware-based systems that drill into the seat frame take considerably longer, as they require a different installation.
2. Can I install a seat back protector by myself?
Yes. A Velcro-based protector like 3W's is designed for a single person to install without any tools or help. The process is basically aligning the panel and pressing the attachment strips into place.
3. Can I remove and reinstall it later?
Yes. A Velcro-based TPE protector can be peeled off and reattached as many times as needed without damaging the seat underneath. It makes the removal easy for deep cleaning or repositioning when the initial fit isn’t quite right.
4. How do I choose the right seat back protector for my vehicle?
Match it to your exact make, model, and year with seat configuration (bench, 60/40 split, or 40/20/40 split). Even small differences in seat shape affect how well a panel lines up with the headrest posts and LATCH anchors.

Leave a comment
All comments are moderated before being published.
This site is protected by hCaptcha and the hCaptcha Privacy Policy and Terms of Service apply.